Coffee Brew Guide- All about the AeroPress
Did you receive an AeroPress for Christmas and have no clue what to do with it? We've put together a handy "how to" guide to help you brew a fantastic tasting coffee either at home or on the go.
The AeroPress was originally designed for brewing "Espresso" coffee on the go, its sturdy design is ideal for taking on camping trips and picnics. This super versatile brewer works just as well though for creating smooth and vibrant longer "filter" style coffee!
We will be talking you through the "inverted" method of brewing to achieve a "filter" style coffee. We've chosen this method because we love the easy drinking, smooth and flavourful coffee it creates!
What you'll need:
- An AeroPress (Get one here!)
- Filter papers for AeroPress (paper or metal)
- A grinder and scales
- A mug or vessel of some kind
- 12g of medium ground coffee (the finer end of medium, ideally)
- 200ml hot water (if you want to get fancy, we recommend using a gooseneck kettle!)
- a timer
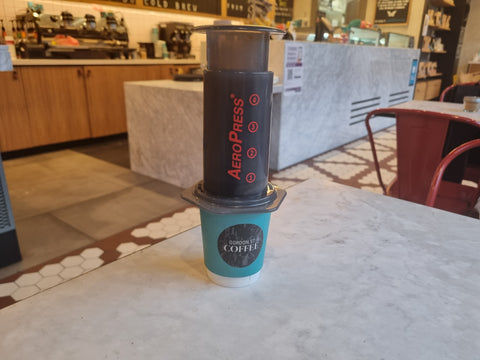
The kit:

The method:
- Start with your prep work! Weigh out your coffee, we highly recommend our Ethiopian Yirgacheffe, (12g, 14g if you want a slightly stronger/ punchy coffee) and grind it fresh. Boil the kettle, let it sit for a minute and weigh out your 200ml. Next up construct your AeroPress.
- Secure the plunger in the chamber and then flip it upside down, this leaves the end of the brewer where the filter will eventually go open, and the plunger is at the bottom, creating a seal to stop the coffee going anywhere. Don't plunge at this point, have the plunger sitting at around the number 4 marker on the chamber.

- Add 12g-14g of your ground coffee to the AeroPress (to sit on top of where the plunger is) and then pour in around 50ml of hot water, stirring once or twice in a circular motion, ensuring all of the ground coffee is wet and let it sit for 30 seconds (This is called a "bloom"). You can watch the bubbles on the top of the bloom, this is CO2 leaving your coffee.

- Pour in the remaining 150ml of water and give it another stir. Leave it to brew (total brew time including bloom should be about 2 minutes).

- When you're happy with the brew, secure the filter and paper in place and flip the AeroPress back around and sit it on your mug/ vessel of choice. This will now bring the brewed coffee in contact with your filter.

- Finally, you're wanting to slowly and carefully (don't rush!) press down on the plunger which filters the coffee into your mug, stop when you reach the bottom and hear a little "hiss".
- Enjoy you're freshly brewed and awesome tasting coffee!

There are so many different recipes and brewing techniques out there for the AeroPress, so once you've mastered this one, we encourage you to branch out and try some different techniques and recipes! We are obsessed with James Hoffmann and find his AeroPress videos a great watch!
The world is your oyster and the possibilities are endless <3